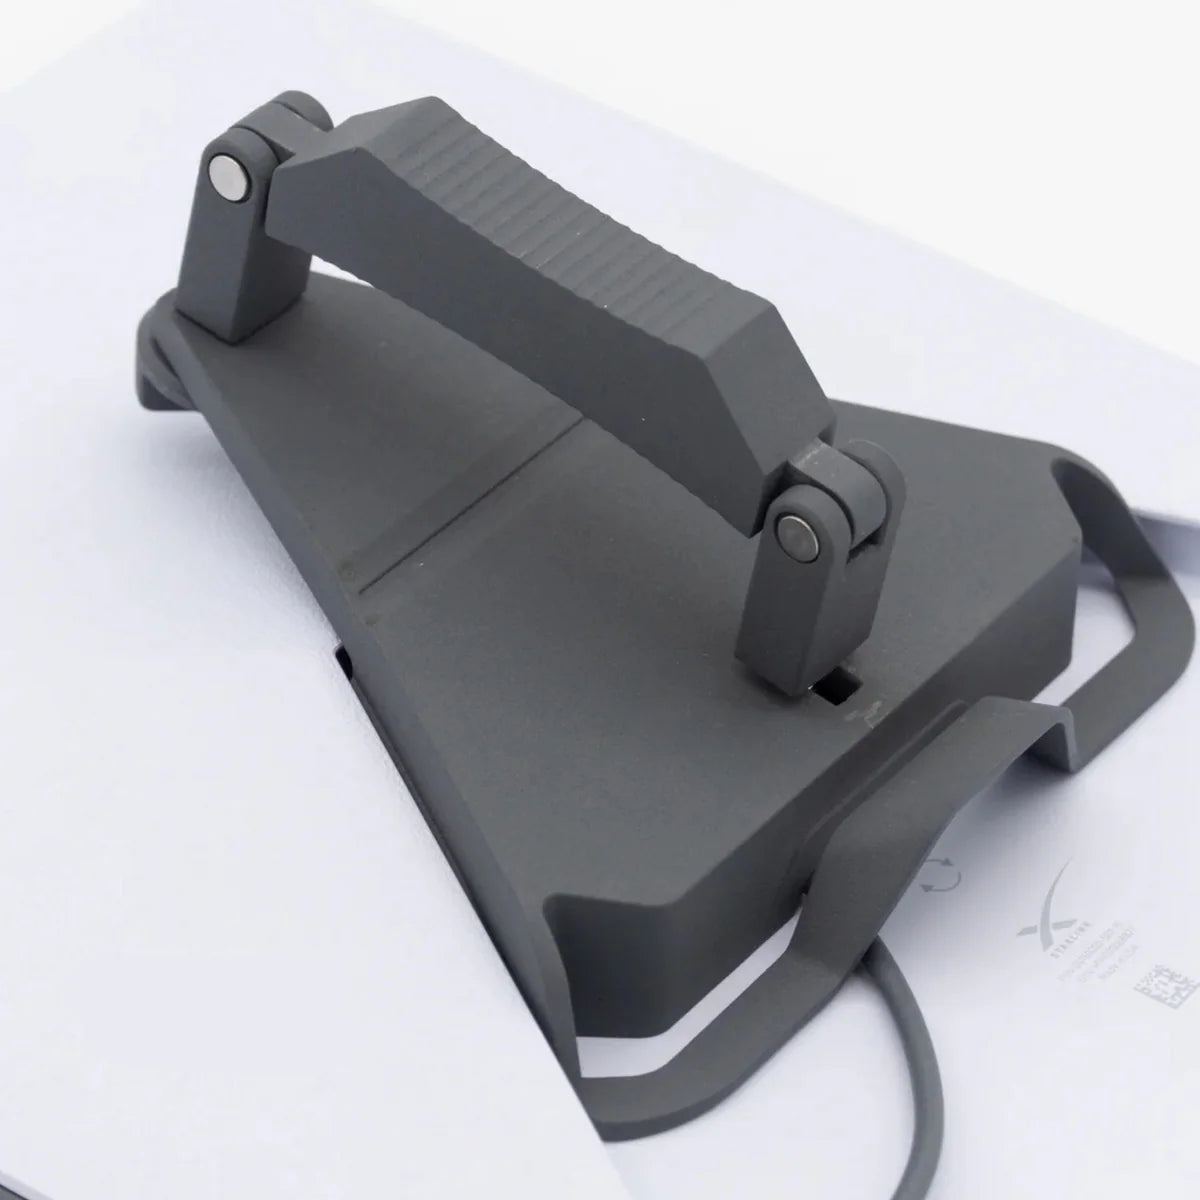
Starlink Mini Roof Rail...
Starlink Mini Roof Rail Mount
Starlink Mini Roof Rail Mount
Key Features
-
Designed specifically for Starlink Mini.
-
Fits roof racks 12 mm to 48 mm thick and up to 88 mm wide.
-
Made from aluminum alloy for strength and durability.
-
Easy to install and remove when not in use.
-
Lightweight, travel-friendly design for touring and remote setups.
-
Not intended for round profile bars.
Specifications
-
Product Name: Starlink Mini Roof Rail Mount.
-
Colour: Powder Coated Grey.
-
Material: Aluminum Alloy.
-
Compatibility: Starlink Mini.
-
Mount Type: Roof Rack / Roof Rail Mount.
-
Fitment Range: 12 mm to 48 mm thick roof racks.
-
Maximum Rack Width: Up to 88 mm.
-
Installation: Easy install and removal.
-
Use Case: Touring, camping, overlanding, and remote mobile internet setups.
-
Notes: Not intended for round profile bars.
Starlink Mini dish, cable and power equipment are not included.
Installation and important notes
Before you start
-
Confirm the roof rail or crossbar is structurally sound and securely fitted to the vehicle.
-
Use the Starlink app’s obstruction tool to choose a position with the clearest possible view of the sky; nearby roof racks, awnings, solar panels, trees and vehicles can affect service.starlink+1
-
Park safely, switch off the vehicle, and work from stable access equipment—do not climb on an unsupported roof.
-
Check that the mount suits your rail dimensions before fitting. This style of mount is intended for rails/bars up to approximately 88 mm wide.
Installation steps
-
Choose the location
Position the mount where the Starlink has a clear sky view and the cable can be routed safely without being pinched, crushed or stretched. -
Set the grip pad orientation
Select the side of the grip pad that matches the thickness of your roof rail or crossbar. The pad should sit flat and centred against the bar to protect it and improve grip. -
Open the clamp
Loosen the two clamp screws until the mount opens wide enough to fit over the rail. Do not completely remove the screws unless necessary. -
Fit the mount to the rail
Place the mount around the roof rail or crossbar. Align the mount so its direction arrow faces the front of the vehicle. -
Secure the mount
Close the mount arm into its latched position. Tighten the clamp screws evenly by hand, then finish with the supplied tool until the mount is firm and cannot move. Avoid overtightening, particularly on alloy or coated roof racks. -
Connect the Starlink cable
Plug the cable fully into the Starlink before fitting the unit into the mount. Route the cable through the mount where applicable, then along the rack using UV-stable cable ties or clips. Keep it away from sharp edges, moving parts, heat sources and door seals. -
Install Starlink
Slide the Starlink Mini into the mount until it clicks securely into position. Install the supplied locking screws hand-tight to prevent accidental release; do not overtighten them. -
Final safety check
-
Confirm the mount, Starlink and cable cannot move by hand.
-
Check the cable has enough slack for vehicle movement but cannot flap in the wind.
-
Recheck all fasteners after the first drive and periodically, especially after rough roads, corrugations or long-distance travel.
-
Important
This mount is designed to hold the Starlink securely, but vehicle vibration, wind load and off-road conditions can loosen hardware over time. Inspect the installation before travel and after any impact or heavy corrugations. What rail or crossbar profile are you fitting it to—round, aero, or a platform rack?
Starlink Mini dish, cable and power equipment are not included.
We offer Free Shipping on all orders! Please allow 1-2 Business Days for us to process and dispatch your order. Once dispatched, delivery typically takes 3-7 Business Days depending on your location.